There are many different options to suit all different situations for fixing solar panels to buildings. We have built this page for solar panel fixing options to help Developers, Building Contractors, Architects, and Homeowners understand what’s on offer when considering fitting panels.
We have categorised each option into the following categories. These include In-roof, solar tile, on-roof, flat roof, standing seam, ground mount, single ply, trapezoidal, Sun Trackers and custom structure.
In-roof mounting systems
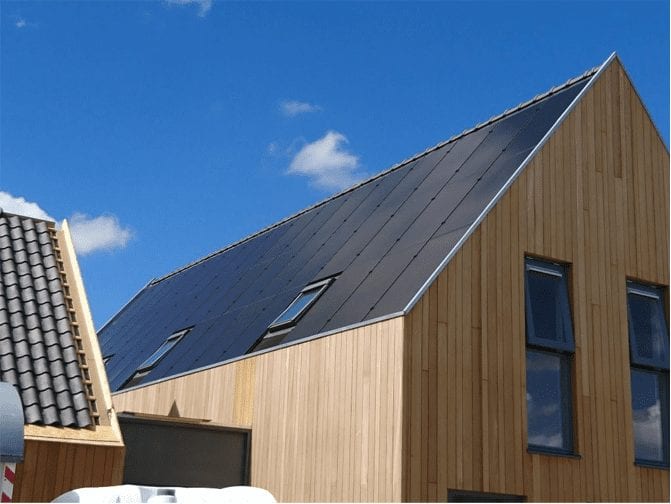
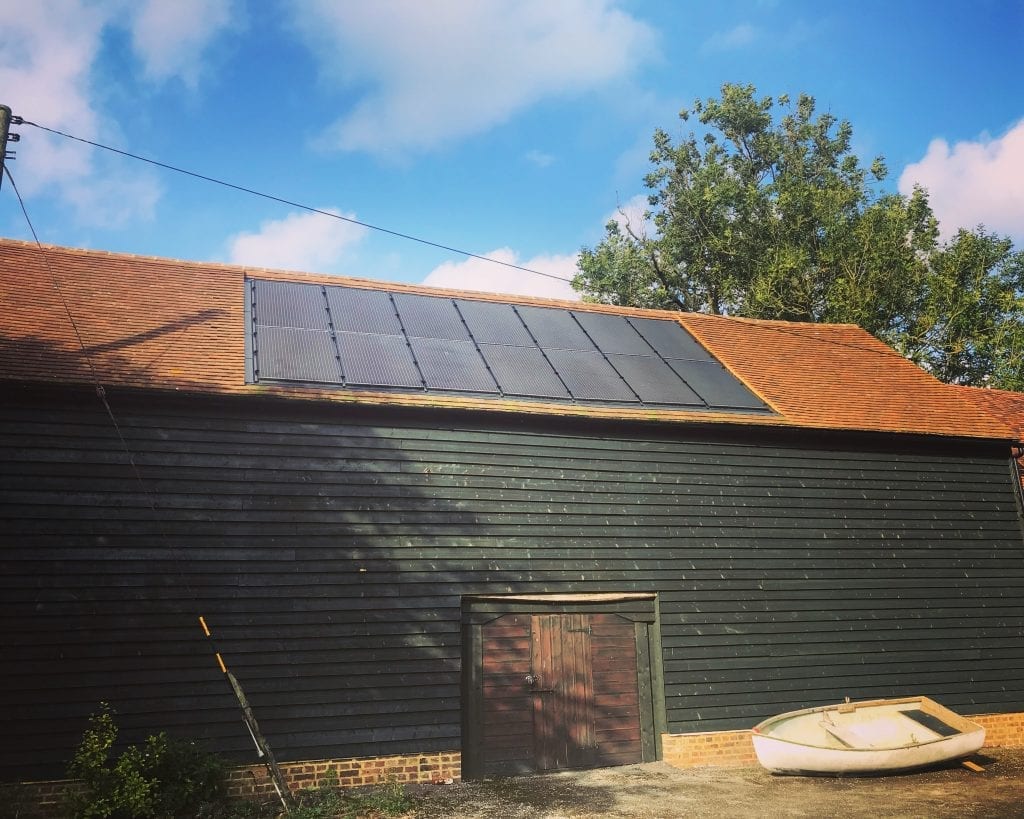

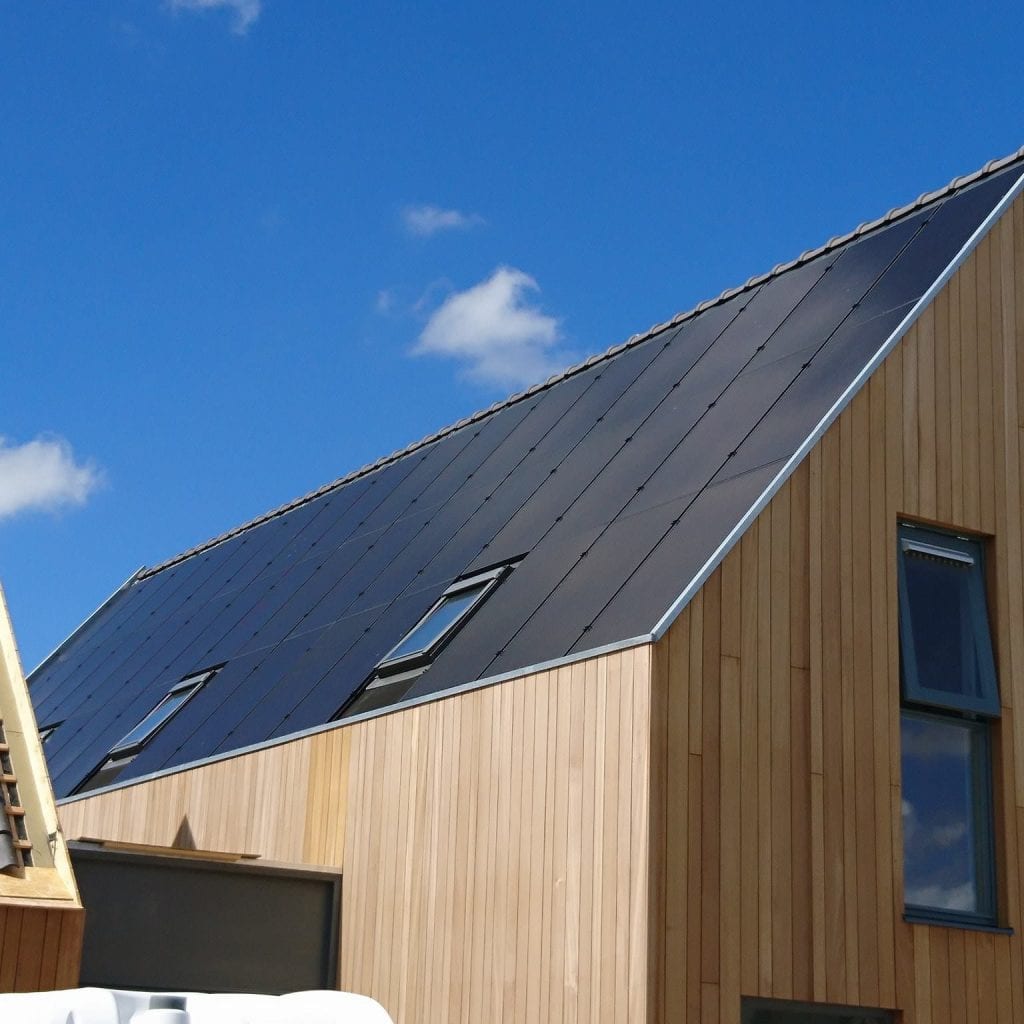
In-roof, also known as integrated solar, is basically when solar panels fix into the roofline. The panels sit in place of the tiles with a flashing kit that tiled around.
There are several different types of in-roof solar kits, and they are all much the same. We mainly use GSE integration and Solar Century kits. An in-roof solar panel system sits on top of the roofs battens and is then tiled or slated around.
It is possible to create a whole roof out of solar panels using an in-roof system. Making the whole roof out of solar panels can be a fantastic option as installing solar panels is an asset to the home because of the savings in electricity and feed-in tariff payments. Why not consider making it your total roof covering? Invest what will otherwise be spent on tiles, slates or zinc etc on useful solar panels instead.
One of the benefits of in-roof solar is that you can use almost all standard solar panels, giving you a vast range to choose from. Also, it is quite easy to change a panel if needed.
Above all, in-roof solar panels are more aesthetically pleasing than traditional on-roof PV panels.
To gain a further understanding of in-roof systems we recommend our expert article here.
Solar Tiles
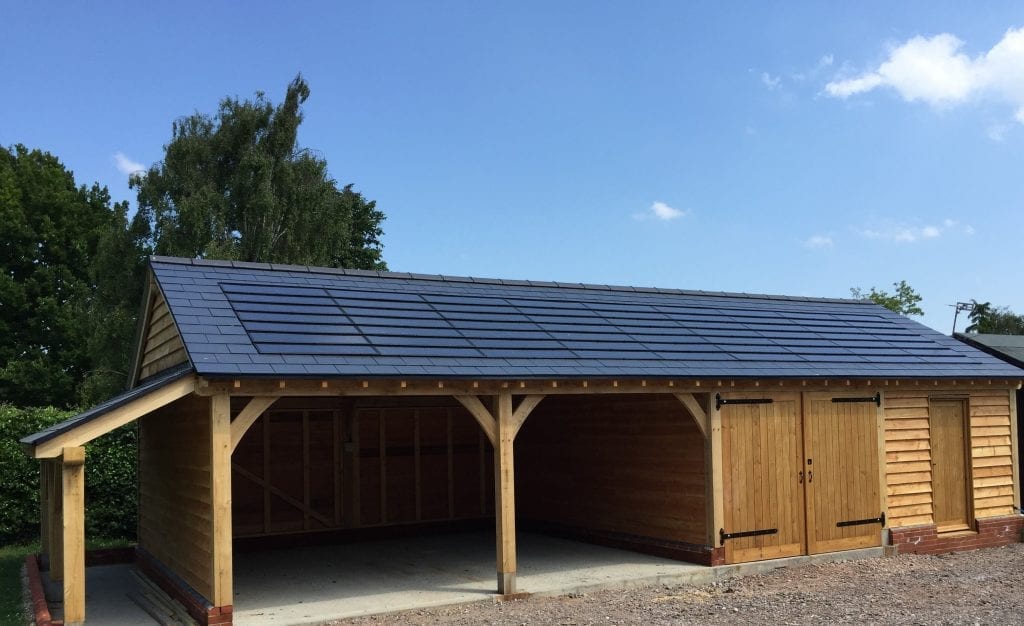
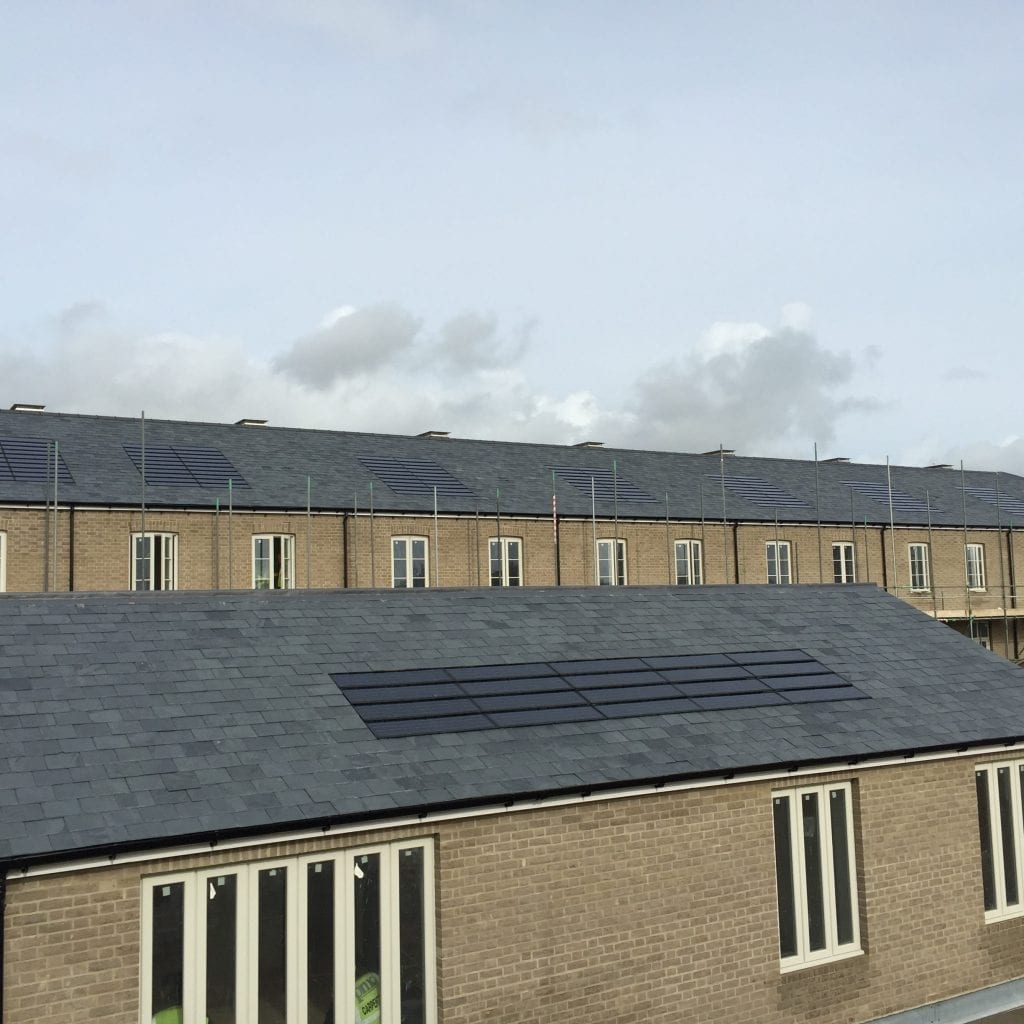
Solar tiles are tiles shaped as solar panels. They’re available in both tiles and slates.
Using solar tiles is a popular option when installing solar power on prestigious developments and new builds because they look great, and planners love them.
In some cases, when installing in areas of outstanding natural beauty and listed buildings, authorities can insist on using solar tiles.
Solar slates look very much like slates and are very difficult to see, solar tiles such as solar centuries c21e tile is a lot more evident that it’s a solar panel and is still in-line with the tiles.
The problem is they can cost a lot more per square meter and aren’t as efficient per square meter as standard panels.
In conclusion, Solar slates and solar tiles look really smart but will cost more than other mounting systems.
On-roof Mounting systems
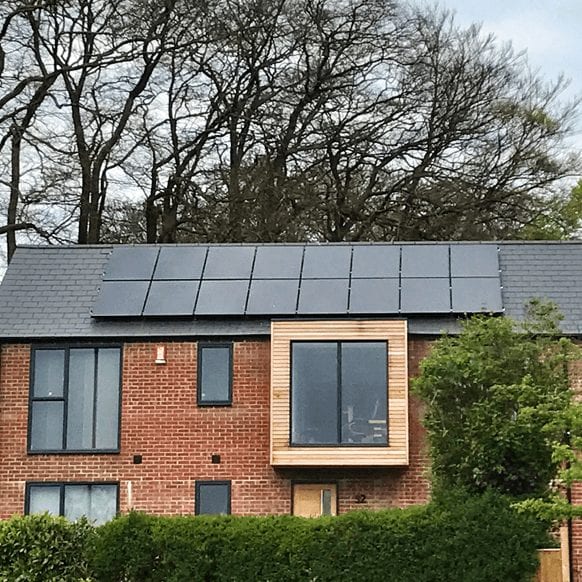
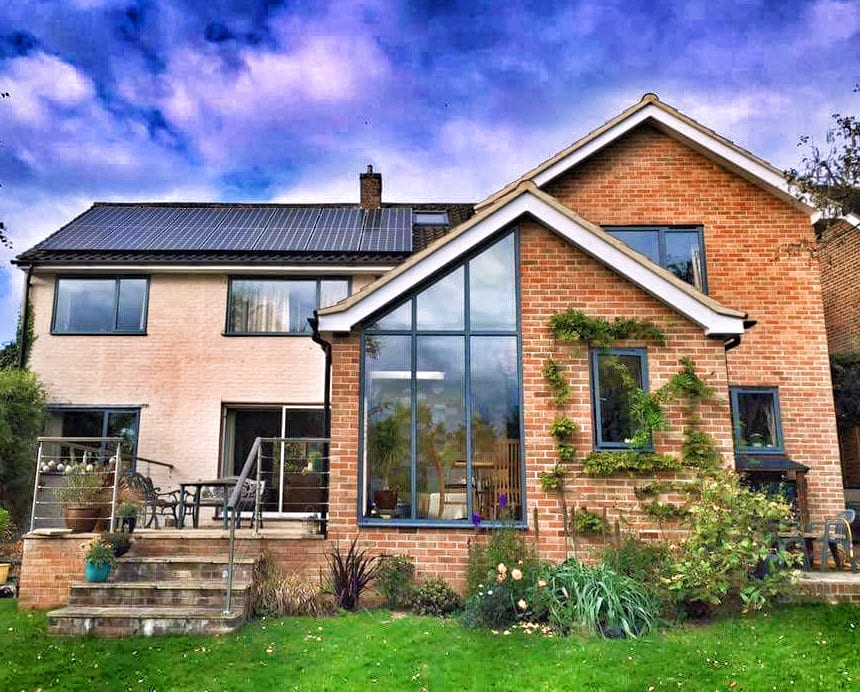
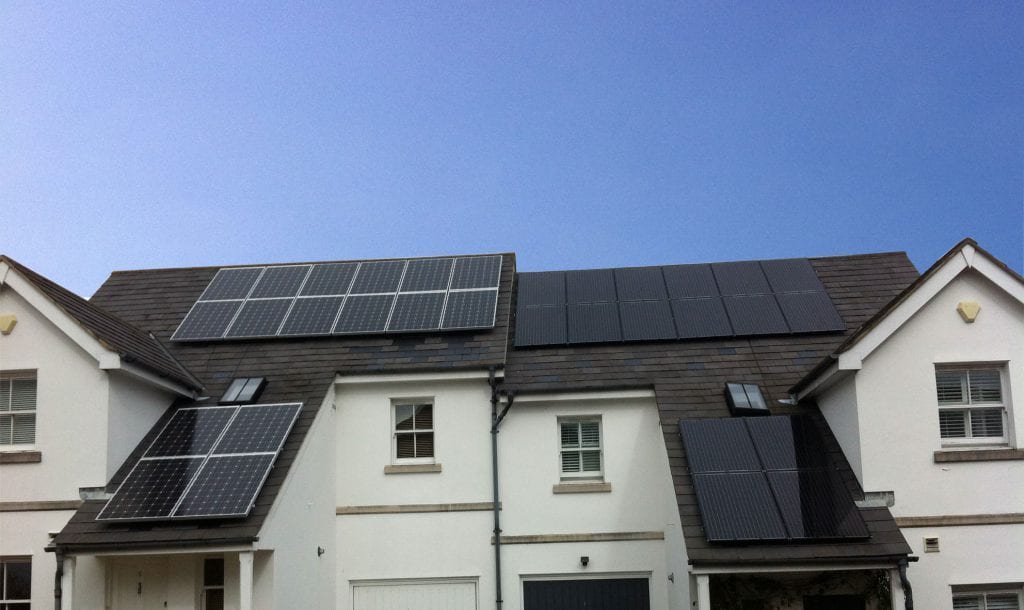
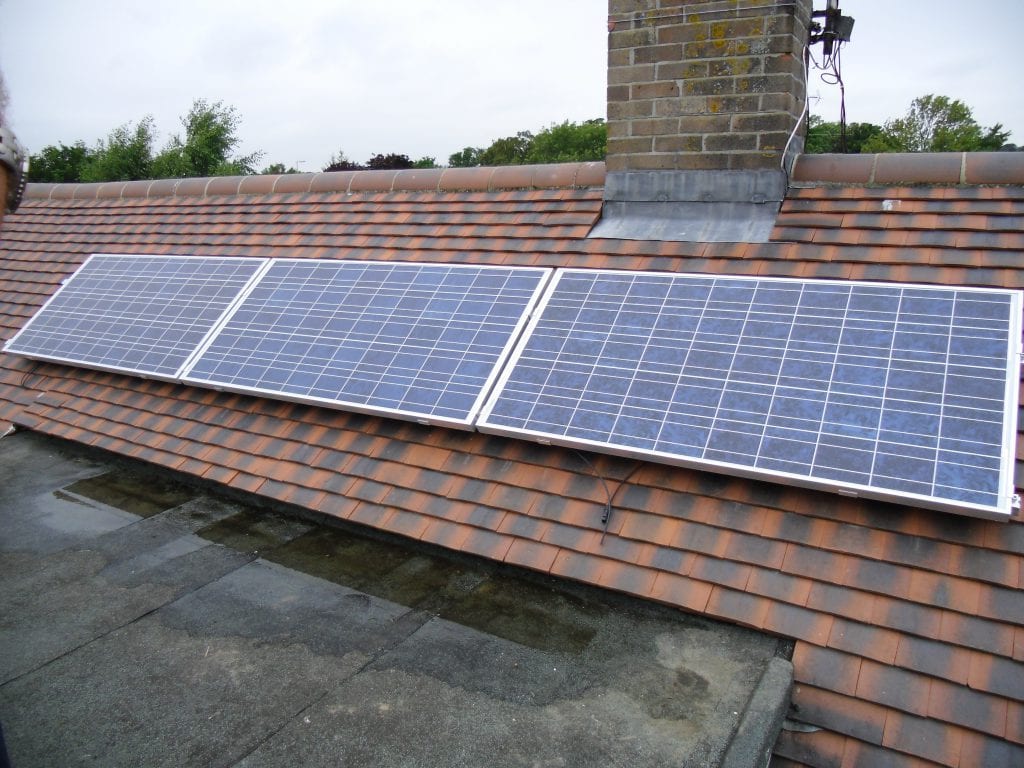
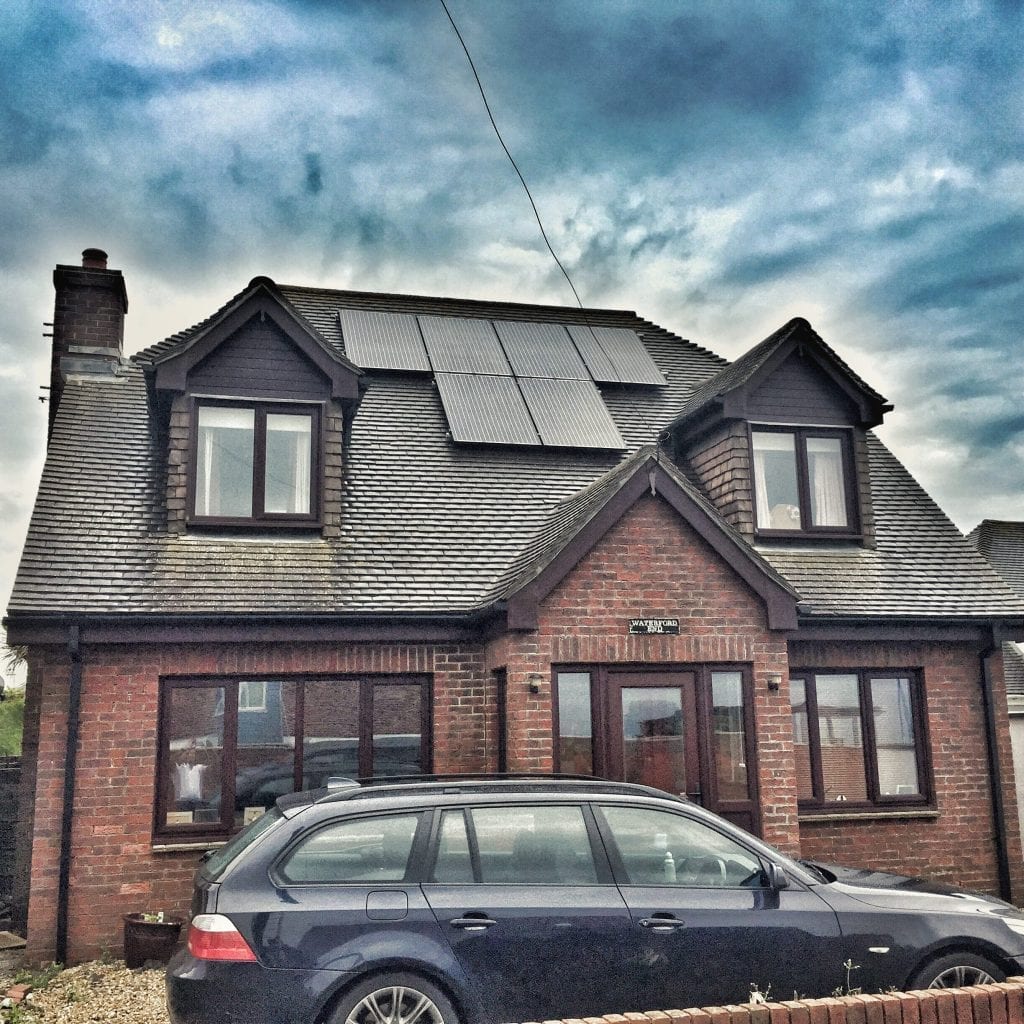
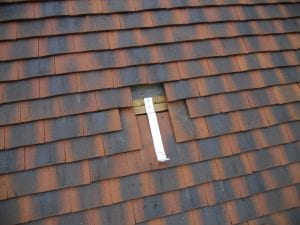
On-roof solar, also known as a retrofit solar array, is when solar panels are fixed on top of the roof covering. Solar Installers remove tiles temporarily and fix brackets to the roof. The rails then fix to the brackets.
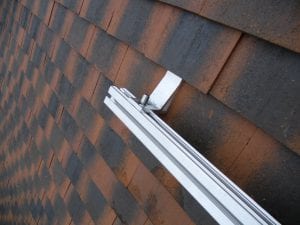
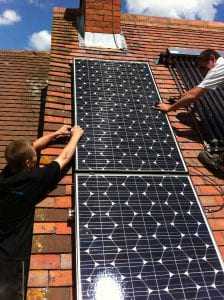
Panels, therefore, sit on top of the rails and are fixed down using clamps.
On-roof solar is probably one of the cheapest forms of installing solar panels. It’s also very flexible, giving plenty of layout options.
Flat roof mounting systems
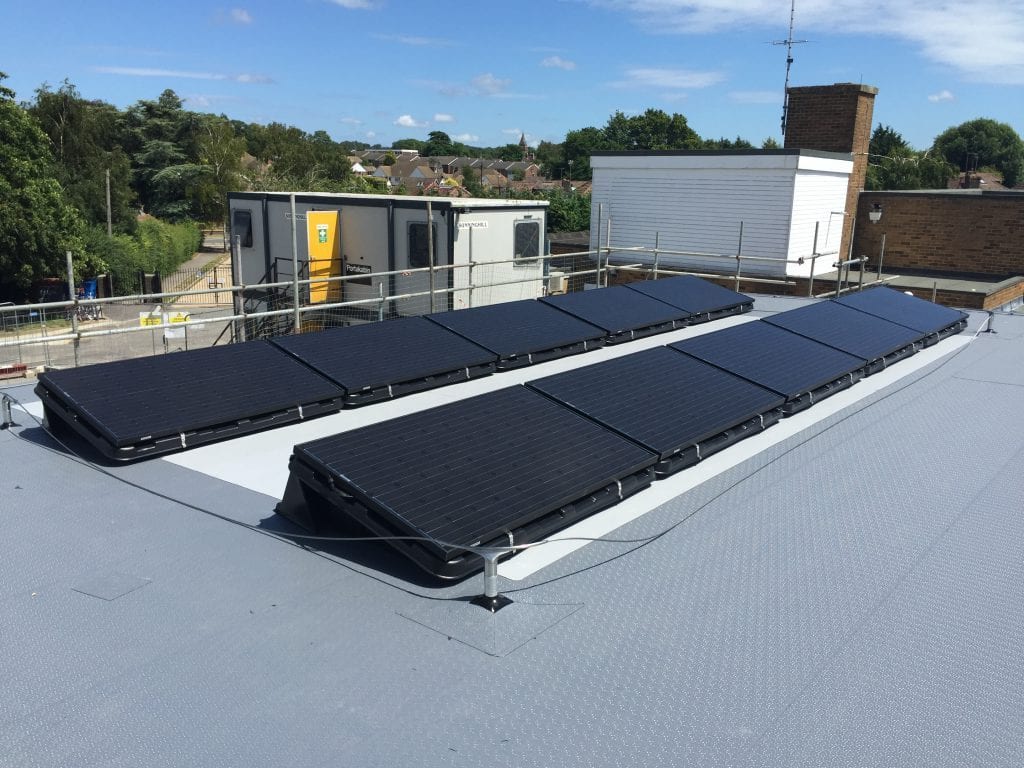
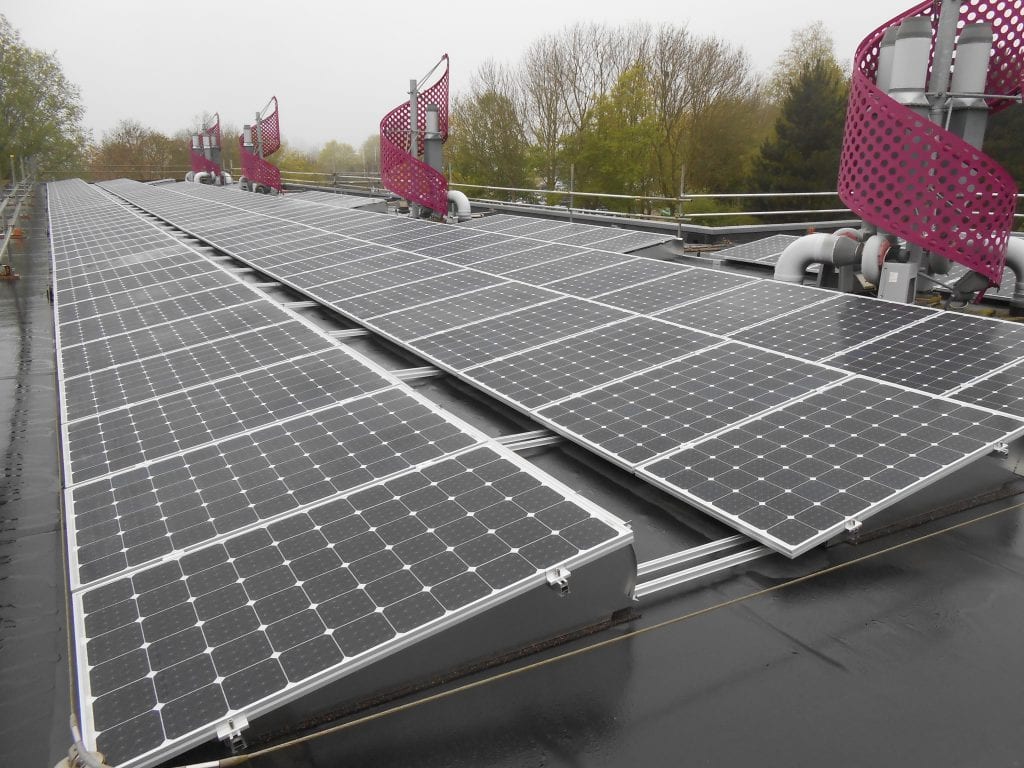
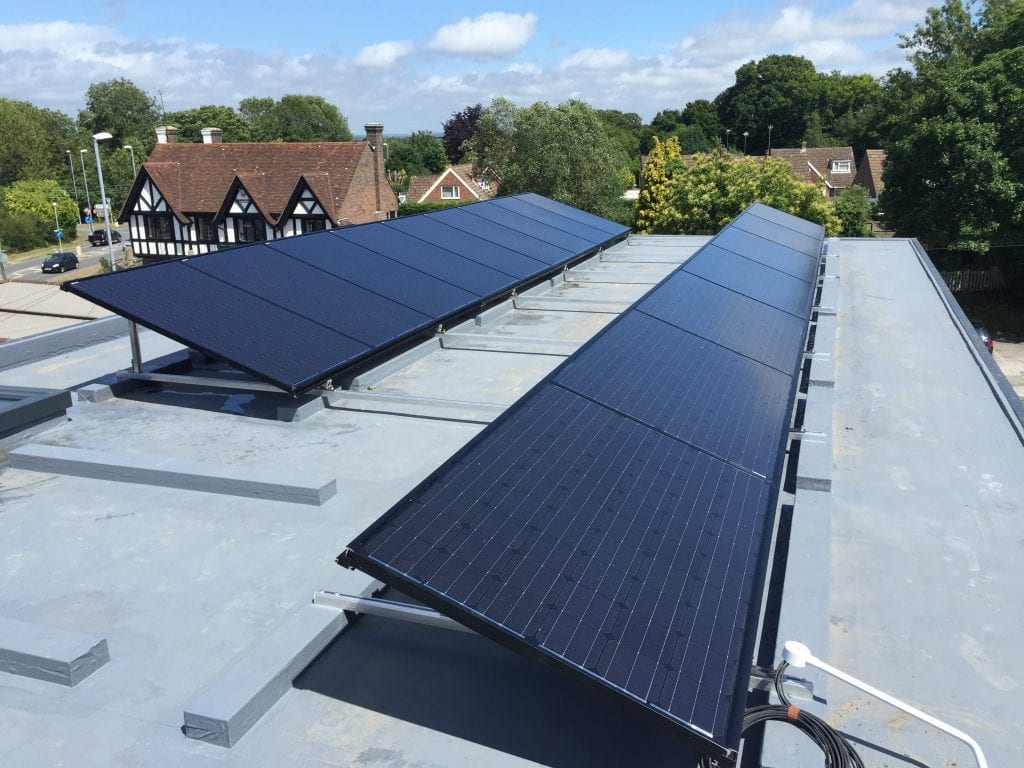
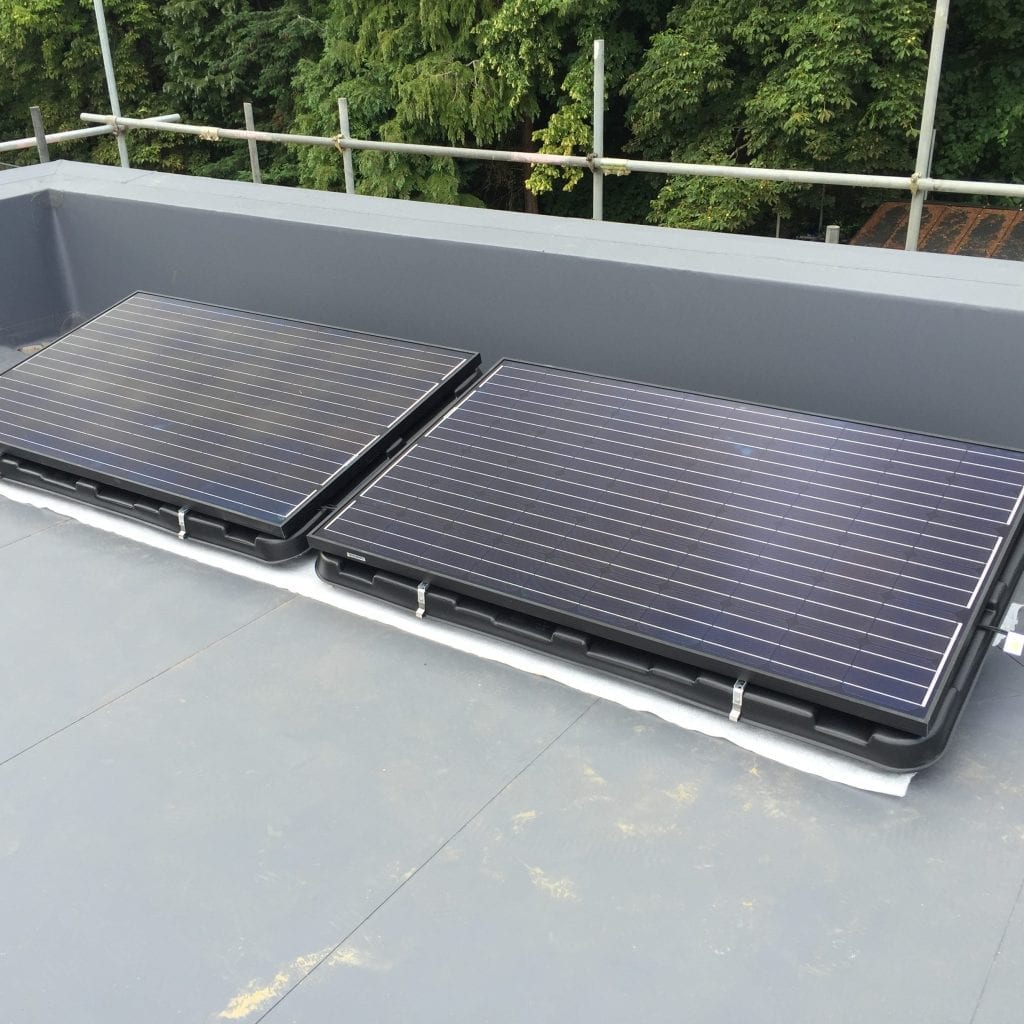
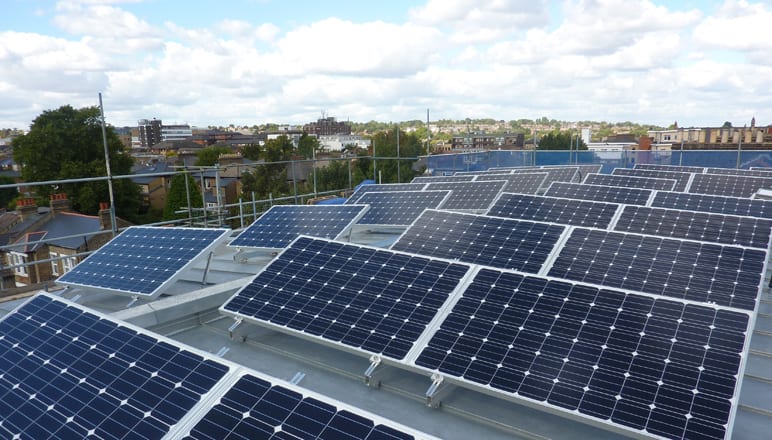
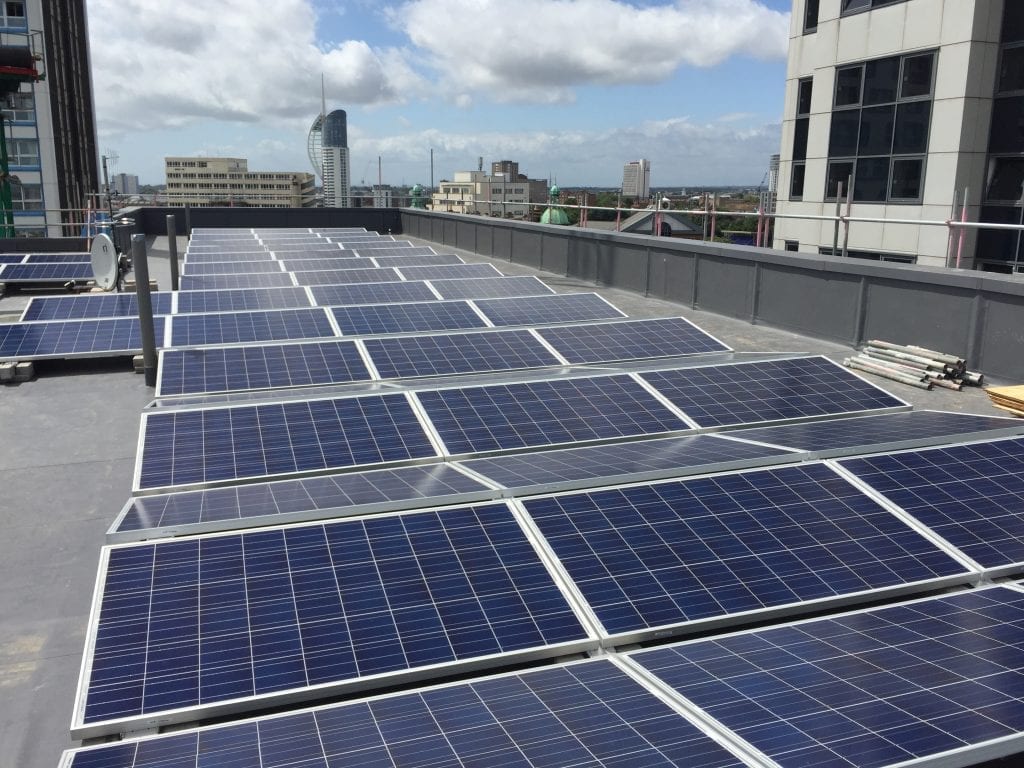
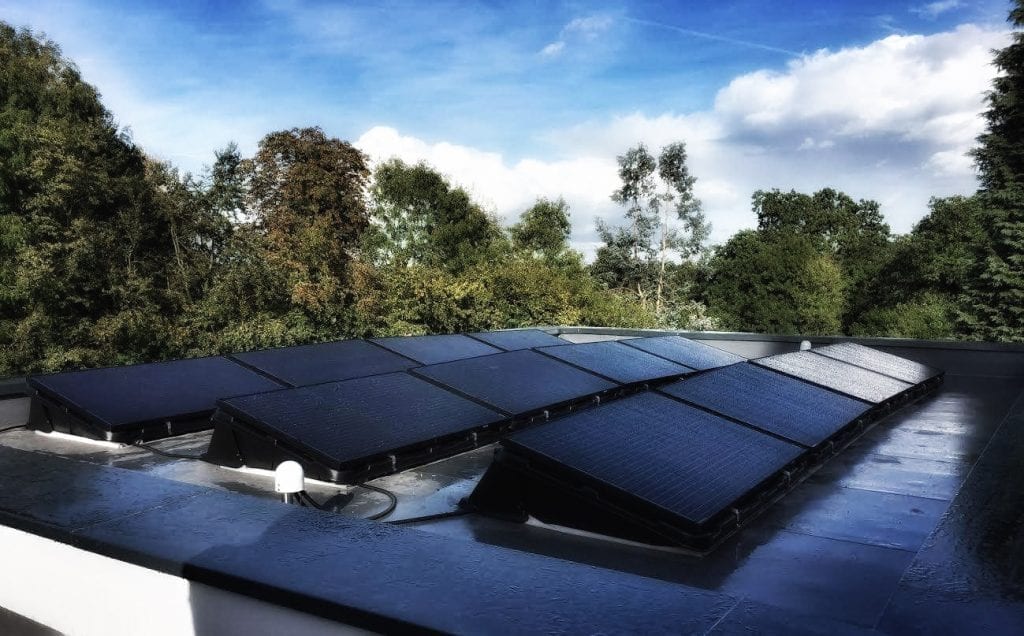
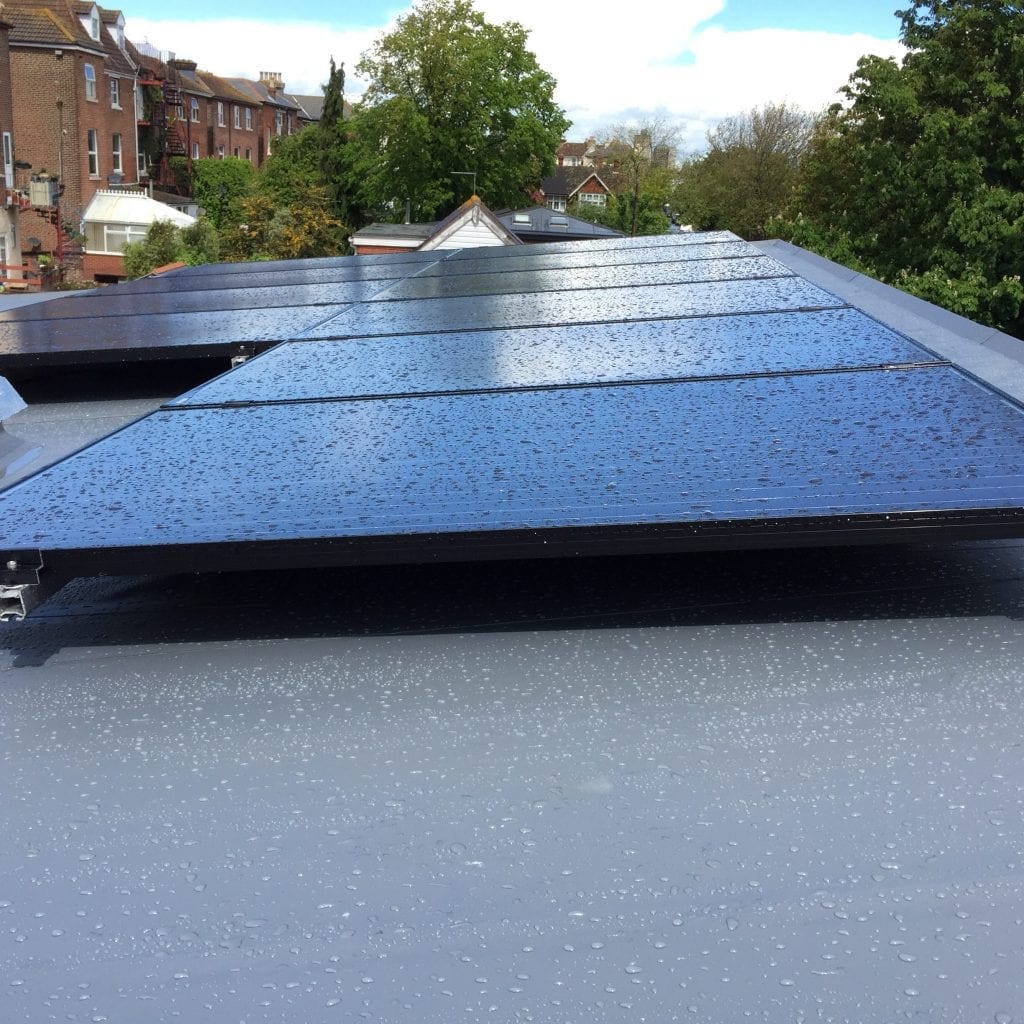
Installing solar panels on flat roofs is fairly simple to do. Generally, there are two most common ways of installing solar panels a flat roof.
1.Using Ballast pods
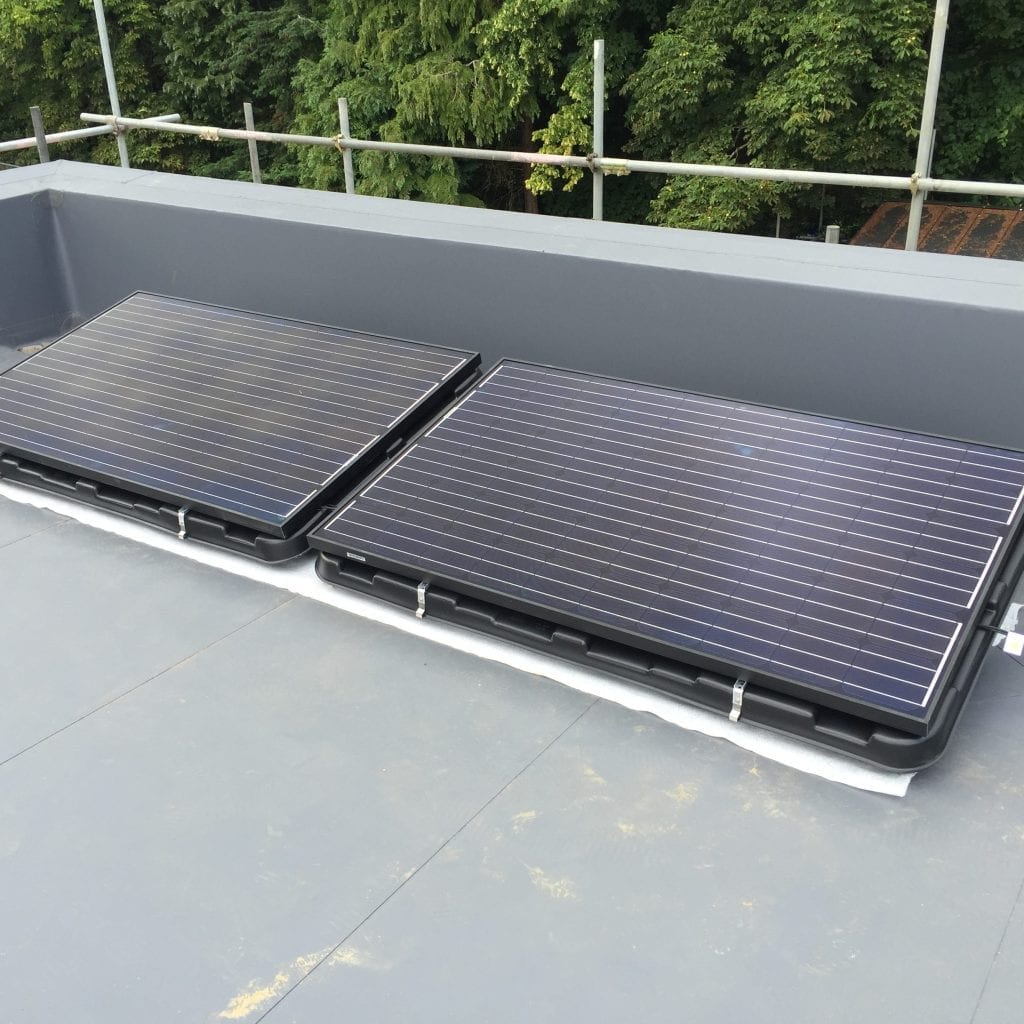
Ballast pods are plastic moulded pods, in the shape of a triangular prism or “large wedge”. The calculated weight of ballast is placed into the pod after that the panel is fixed to the wedge. The amount of ballast is subject to a wind loading calculation. In our experience on average tends to be 90kg per panel. This is can be an unsuitable amount of weight for some flat roofs. Panels installed on ballast pods are placed at a low level and are in landscape orientation.
2. Using A- frames
A-frames are simply aluminium or stainless steel frames that fix directly to the roof. The frames are generally lightweight, therefore, including the panel itself, on average the total weight, per panel is 25kg.
A-frames are lightweight, but careful consideration over fixings is essential. In most circumstances at some point, fixings may have to penetrate a flat roof, which is never ideal. It is essential to use specialist weathering screws, and it’s good practice to install an additional timber upstand with extra roof covering over the top to fix too. So the makeup of the roof would be timber deck (e.g. chipboard), roof covering (e.g. roof felt), Timber fixing points for the solar, then Additional roof covering and final specialist weathering capped screws.
When installing all type of flat roof systems consideration must be made for shading, for example, you wouldn’t want the front row of panels to shade the second row and so on. There are tables to calculate this that change depending on location, type of system and orientation.
Also, solar panels using A-frames have the option for installation in Landscape or Portrait, so very flexible.
One last thing to consider when installing on flat roofs. Is it going to be a planning issue? The thing is you are likely going to be raising the roofline by the height of the panel, this can sometimes be a planning issue, so it’s worth checking with your local planning office.
A popular ballast tray is the console+ by renusol.
Standing seam mounting systems
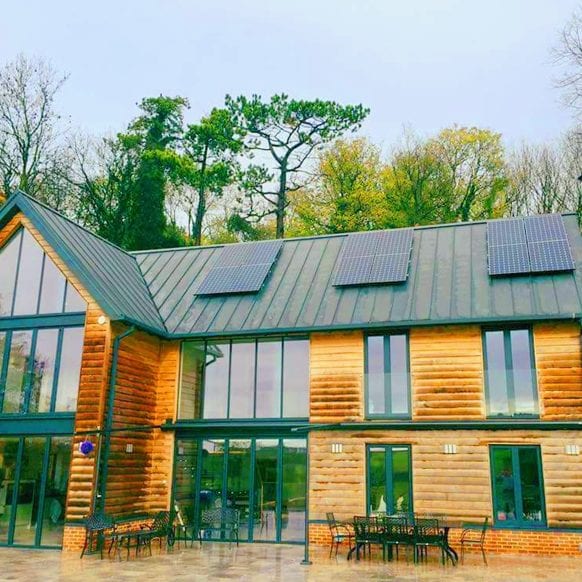
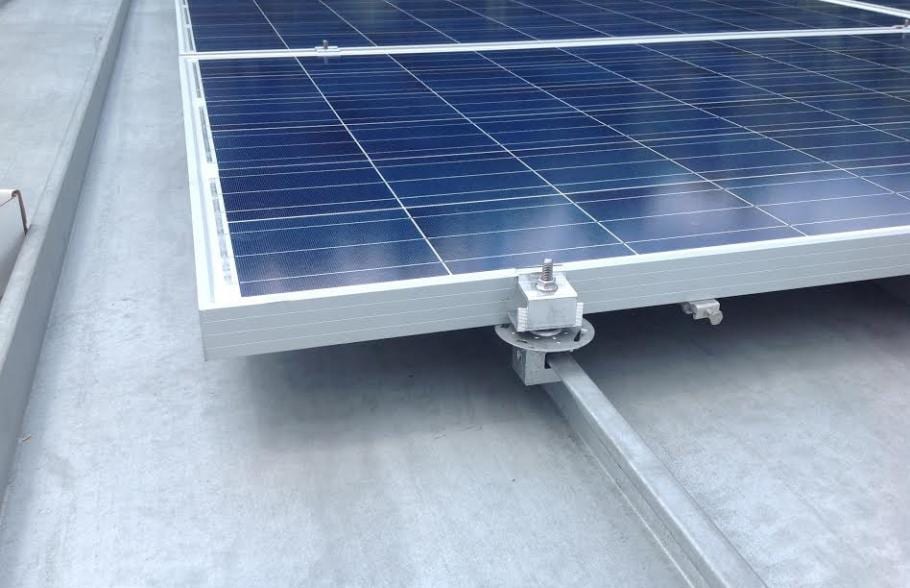
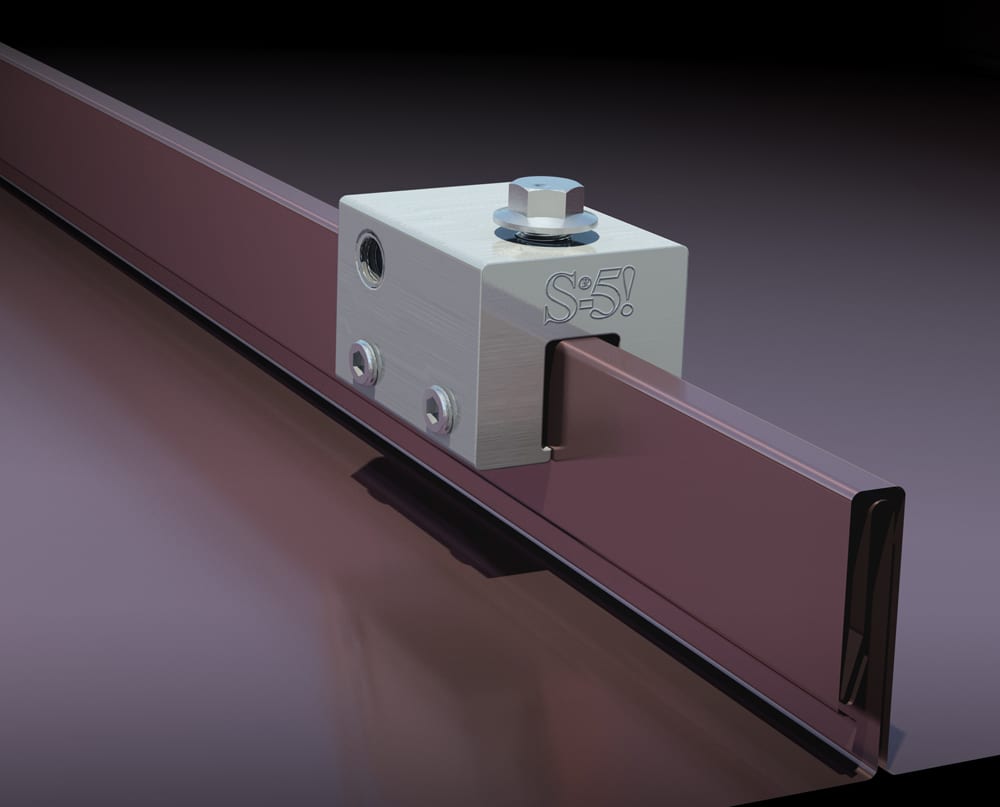
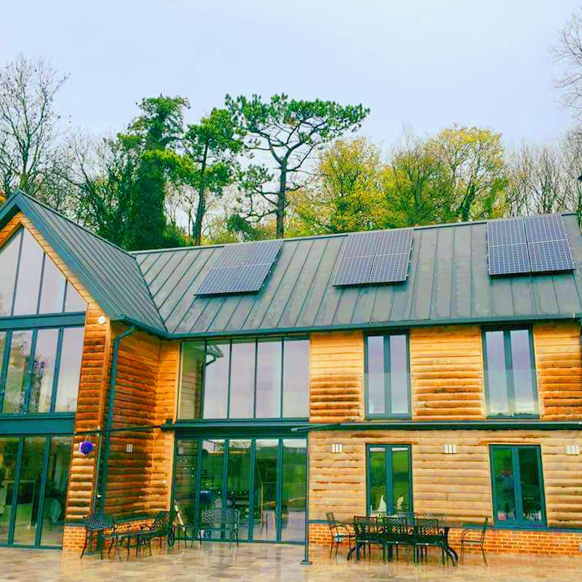
Installing onto a standing seam zinc roof is relatively straightforward.
Once the manufacture of the standing seam roof is known, a specialist clamp is selected.
The clamps fix to the standing seam, the amount needed is dependent on wind loading calculations, typically four – six per panel.
The clamps fasten to the upstand allowing for a rail to fix to them using bolts. The solar panels then fix to the rail.
One last thing to consider when installing solar panels to a standing seam roof is how to get the cable inside. Two of the most common options are one, to drill a hole into the roof and weather back in using a specialist cable inlet product. Two, find an entry on a wall by looping the cable over the roof, clamps can be used to fasten the cables to the roof.
If you have a solar panel system installed using standing seam clamps, it’s a good idea to get them checked periodically for tightness.
It is also vital that the roof covering is fixed well before the solar panels, to support them as the security of the panels depends on what they fix on too.
There are several different types of clamps; some allow you to install the panel directly to them.
Ground Mounted Solar
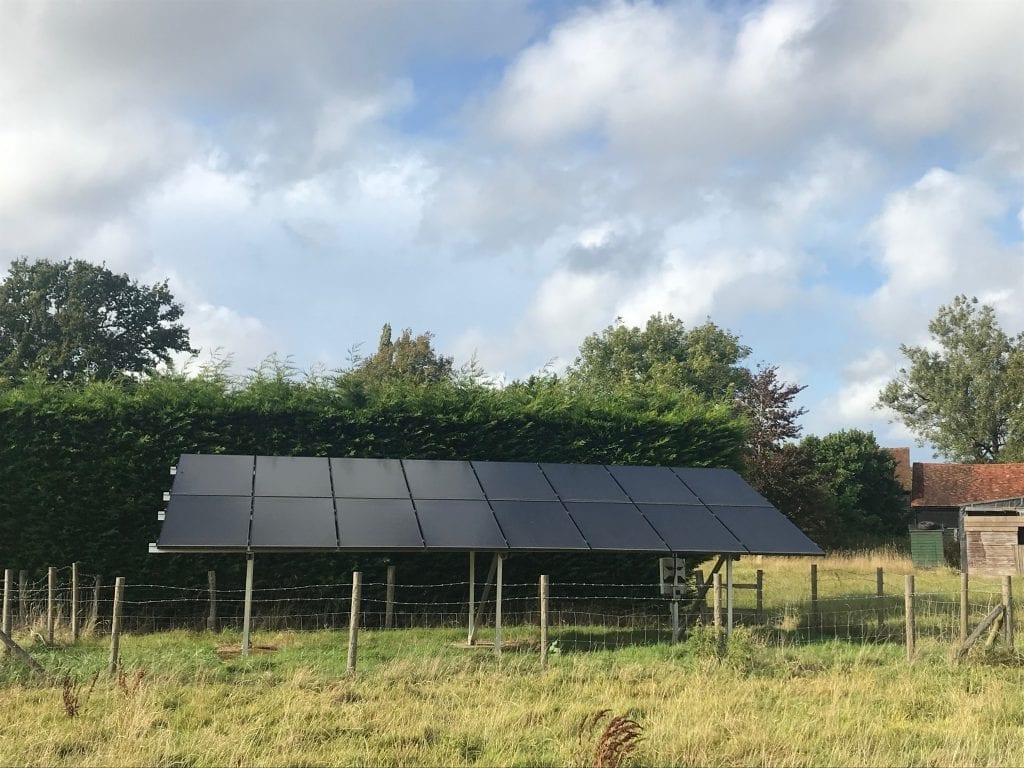
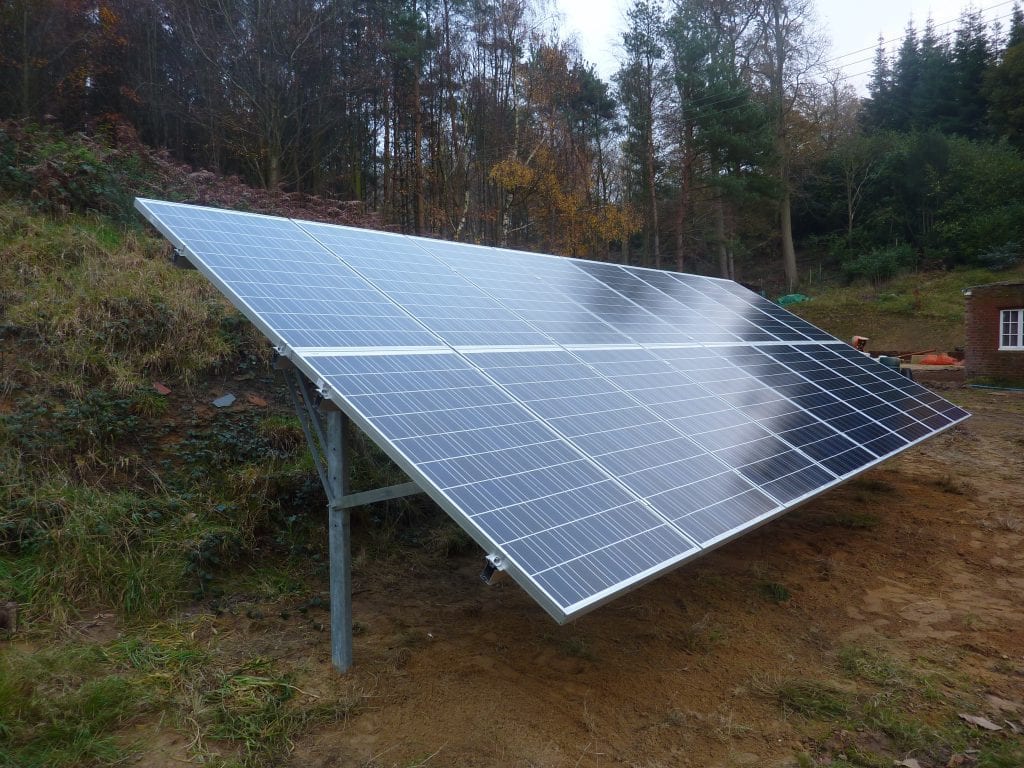
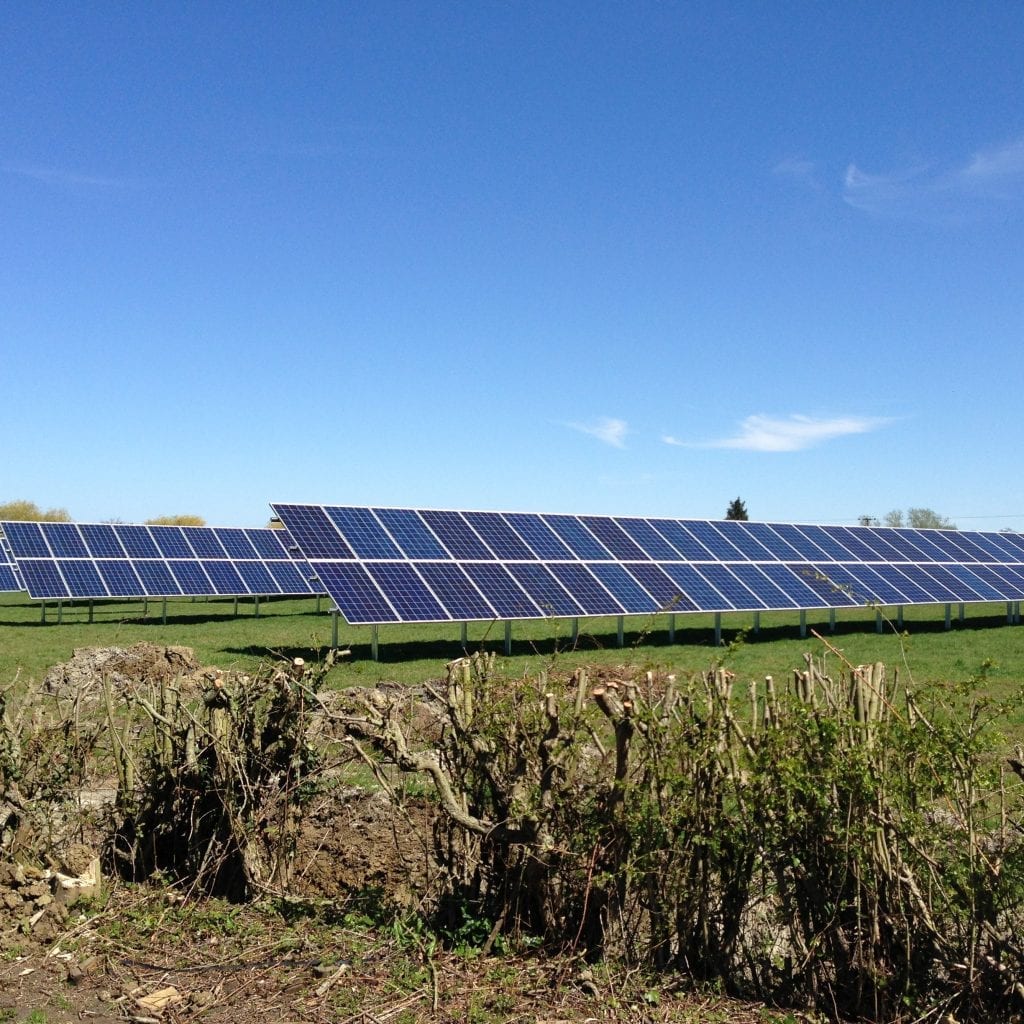
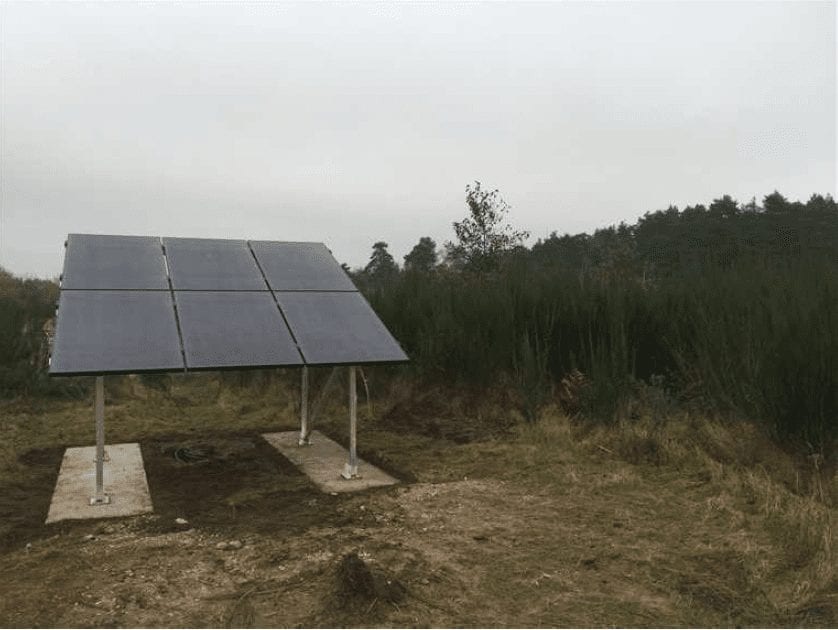
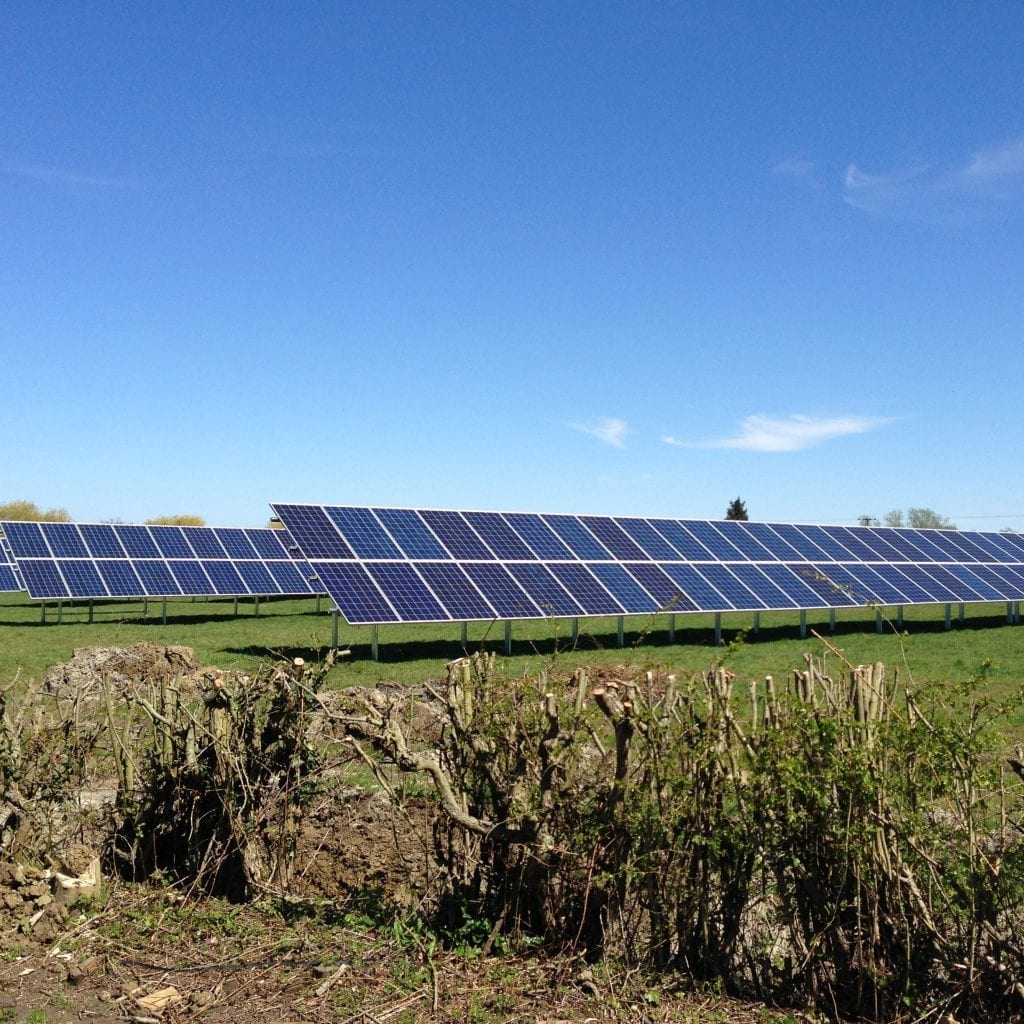
Installing solar panels on the ground can be a great option. It is accessible when roof space is minimal and where ground space is in abundance.
Ground-mounted solar is very popular amongst landowners and farmers but also homes with big gardens.
We have completed a broad range of ground-mount solar projects in our time; it’s a prevalent option.
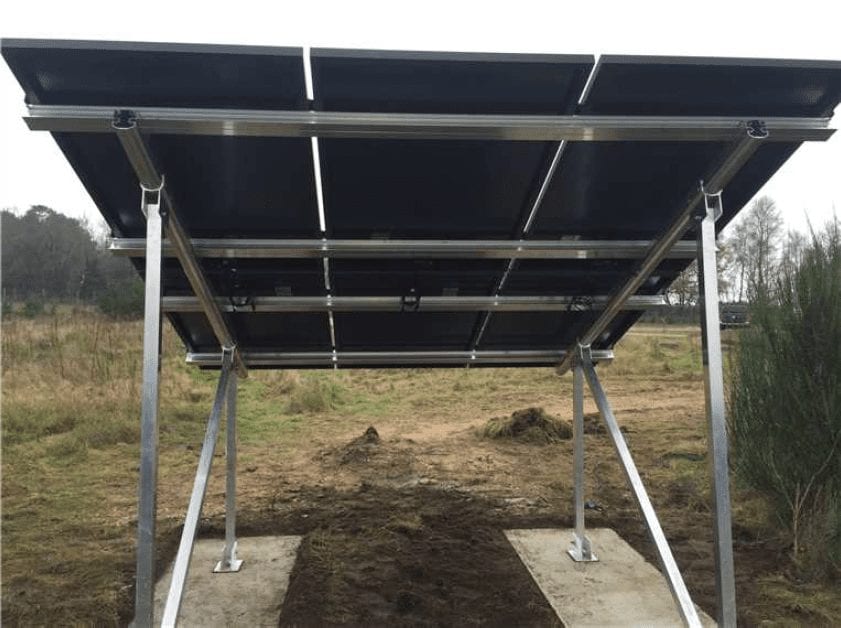
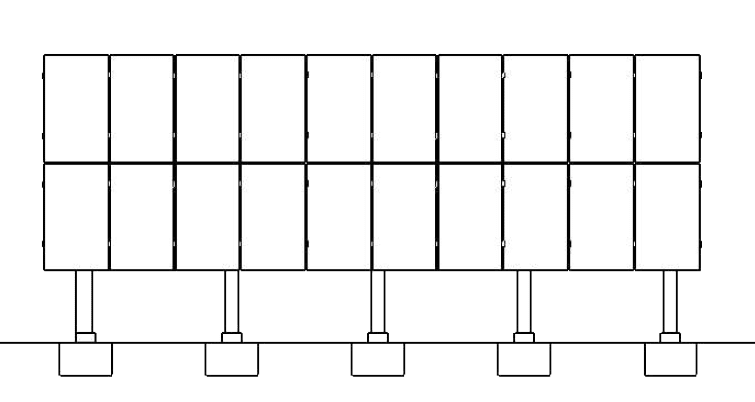
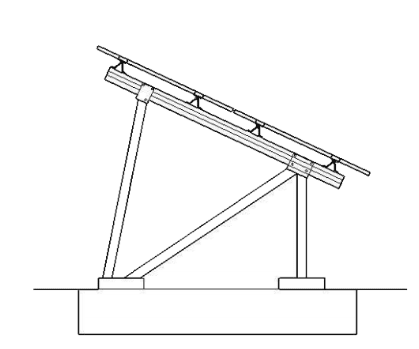
It’s also straightforward to install. There are several options, but the kit where the ground-mounted frame is mechanically fixed to strips of concrete poured into the ground, has to be one of the preferred options. You will see a drawing and photos below or to the left showing this type of method.
With the mounting system built, the solar panels sit onto rails and are clamped down like normal.
Other ground-mounted systems work; similarly, some are installed using posts concreted into the ground. Some systems can be installed lower on the ground.
When installing ground-mounted systems, there is more room to build something more custom — for example, laying oak sleepers and the fixing a-frames to them. Or even a steel post system fabricated by a steel fabricator.
Another benefit of ground-mounted systems is that you can position them perfectly, both the orientation and pitch.
Single-ply Membrane
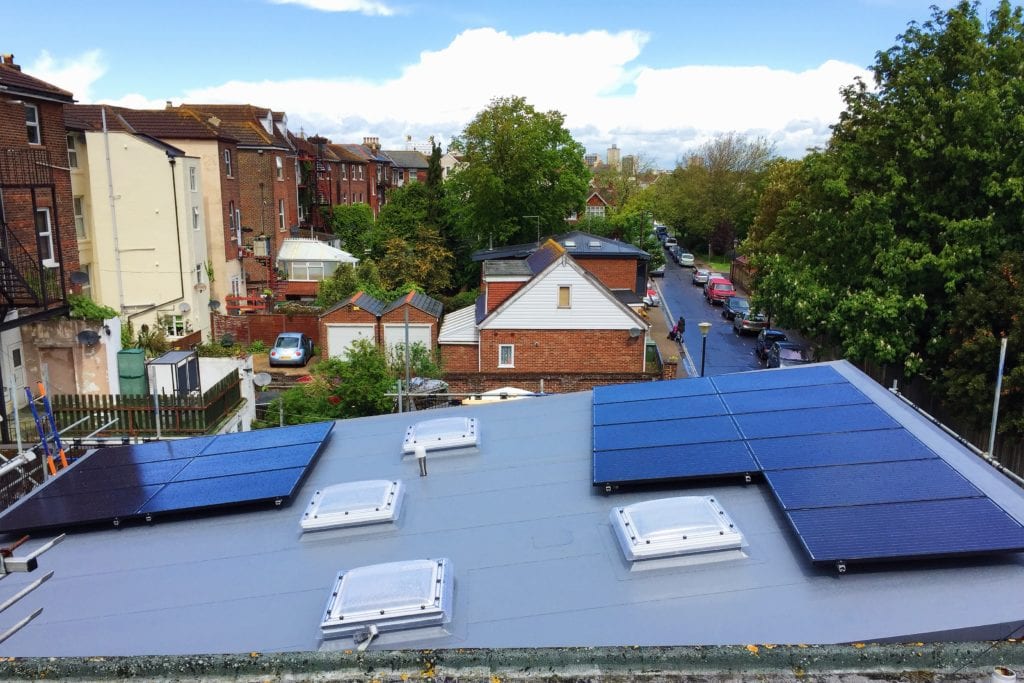
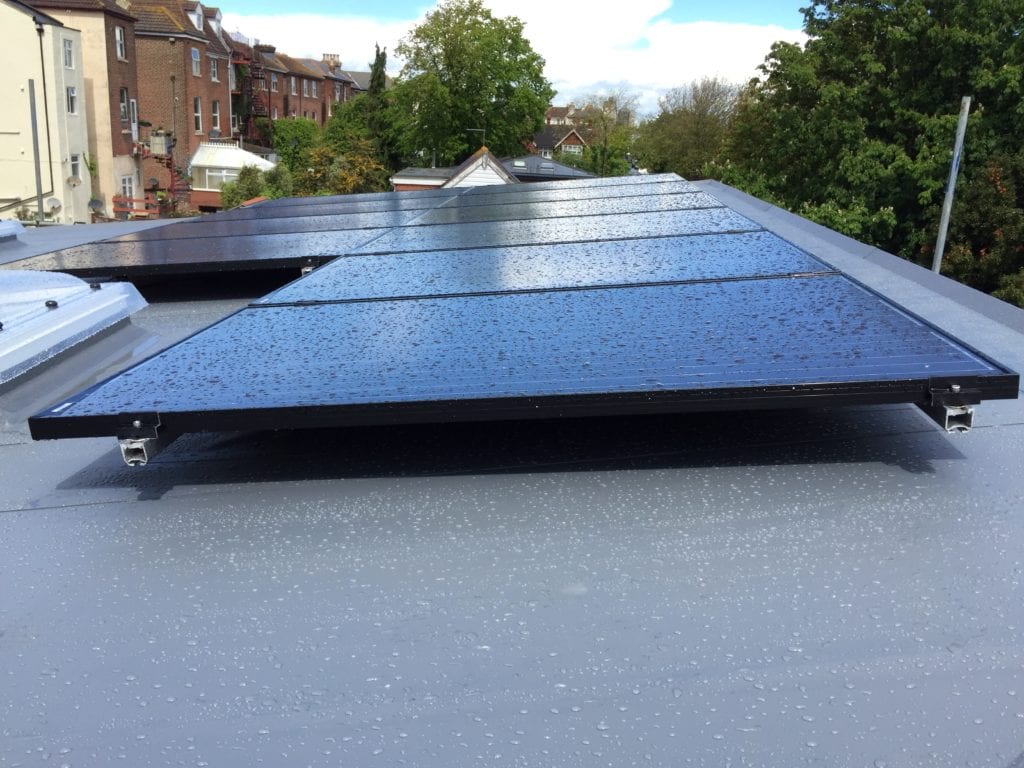
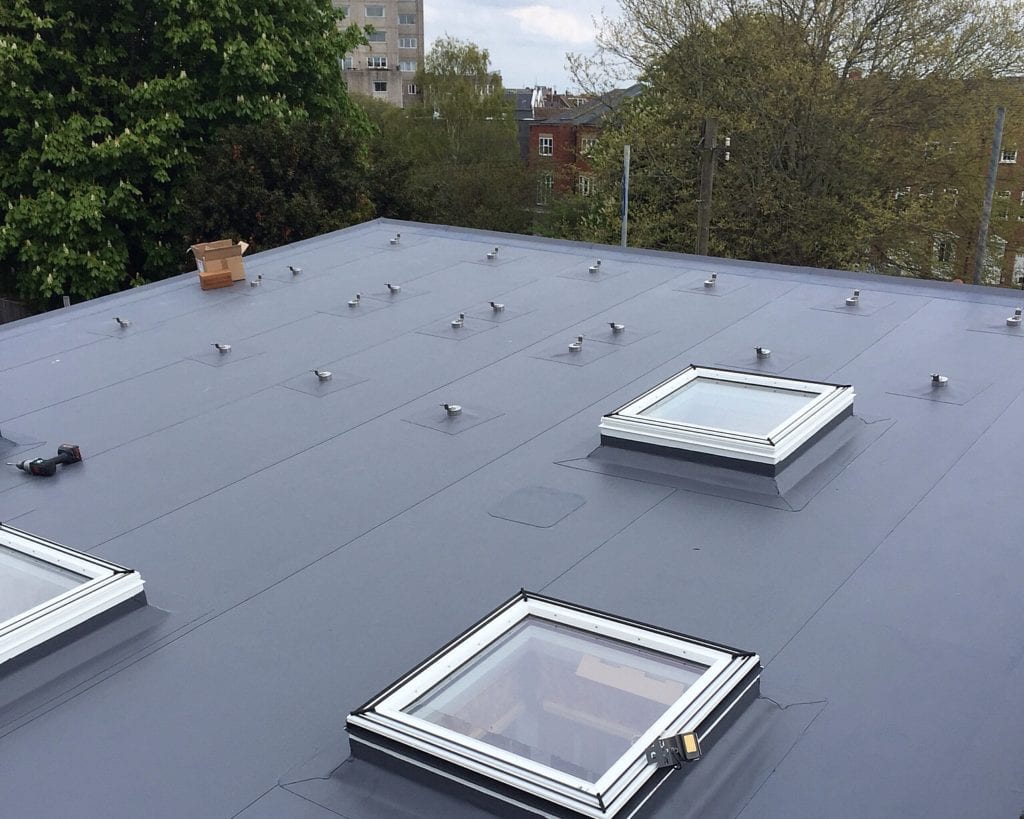
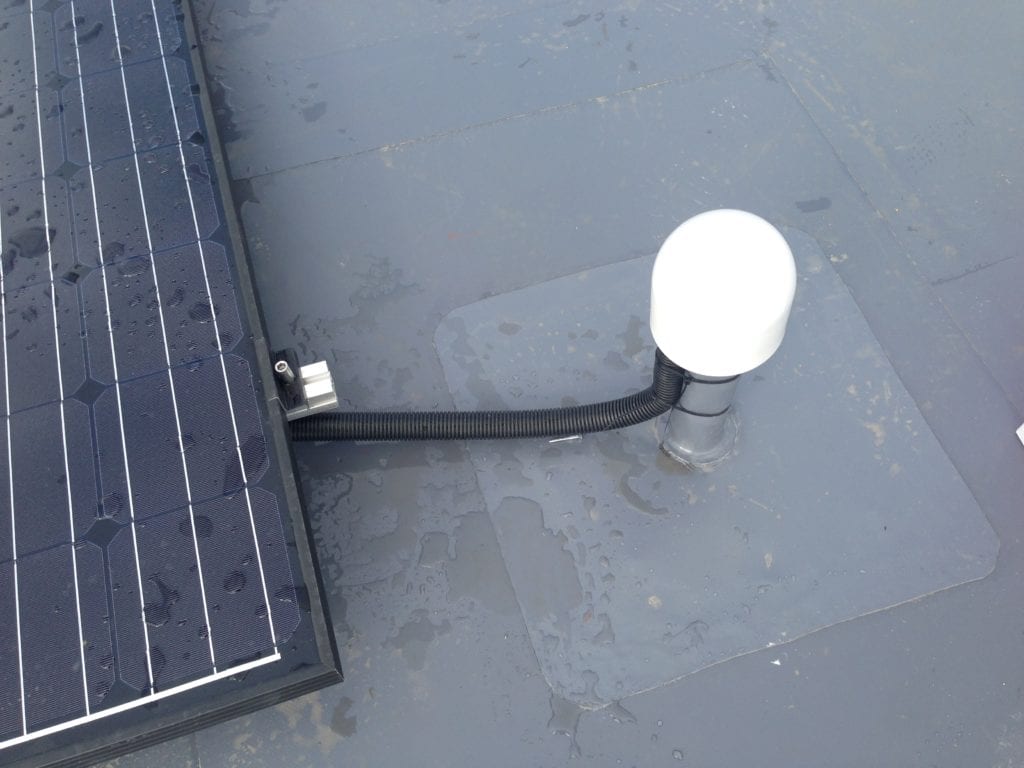
It can be a little tricky when mounting solar to single ply roofing membrane. It requires a little more planning and organisation.
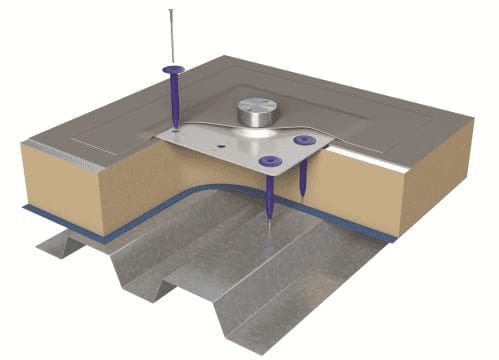
Either an upstand can be provided by the main contractor for the solar to screw down to or, a much better solution is to use a purpose-made bracket.
Shown in the diagram below is a fixing bracket that can screw straight down on top of the single ply roof. There is then a skirt of the membrane that is attached to the bracket that can then be welded to the single ply. Any type of membrane can be installed to the fixing plate, this is done in the factory and the membrane needs to be provided beforehand, unless it’s one of the more common brands, the manufacturer keeps these in stock.
This way the same membrane that covers the roof can be used and ensures the validity of the warranty provided by the single ply manufacturer and installer.
Trapezoidal roof mounting systems
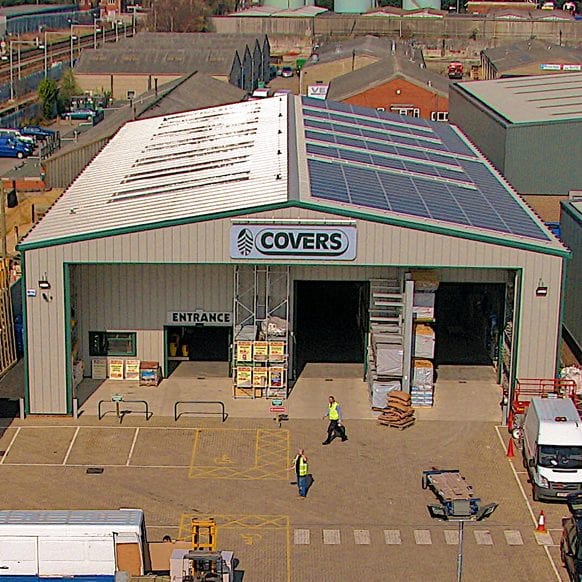
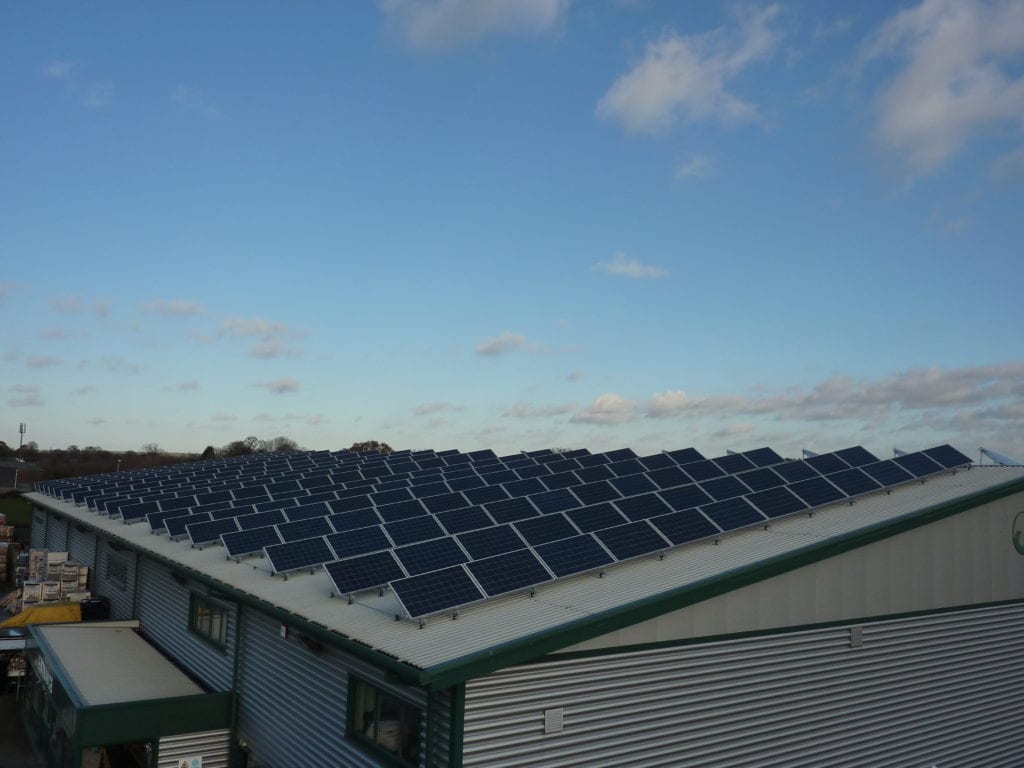
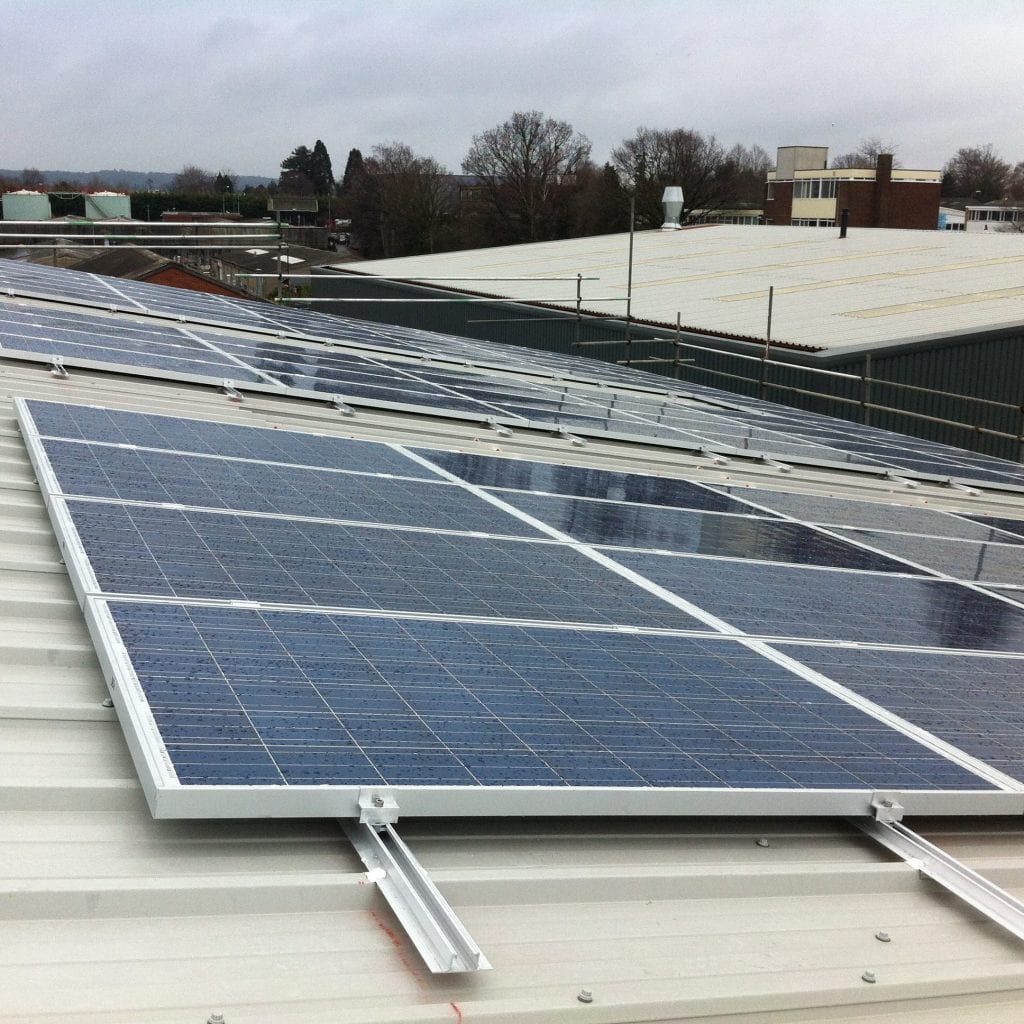
Trapezoidal roofs are typically found on commercial buildings, modern barns and storage units. All great place to install solar panels.
Fixing solar to trapezoidal roofs don’t always require fixings right back to the substructure. In fact in many cases self tapping sheet metal screws are used to fix the mounting kit to the high beading. It is the case for nearly all situations to not have to fix to the substructure.
Installing solar panels to a trapezoidal roof such as a Kingspan composite sheet is very straightforward. Small lightweight pieces of mounting kit are either pop-riveted or screwed onto the roof, using specialist weathering fixings.
Solar panels are then fixed to each piece of mounting kit using panel clamps.
There are hundreds of different types of mounting systems for sheet metal roofs to suit all scenarios and types of roof.
Sun Tracking mounting systems
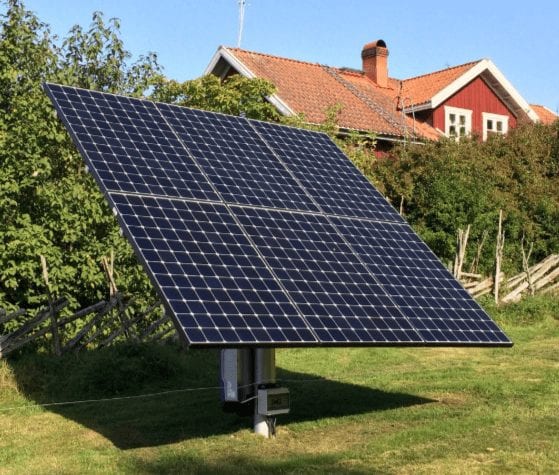
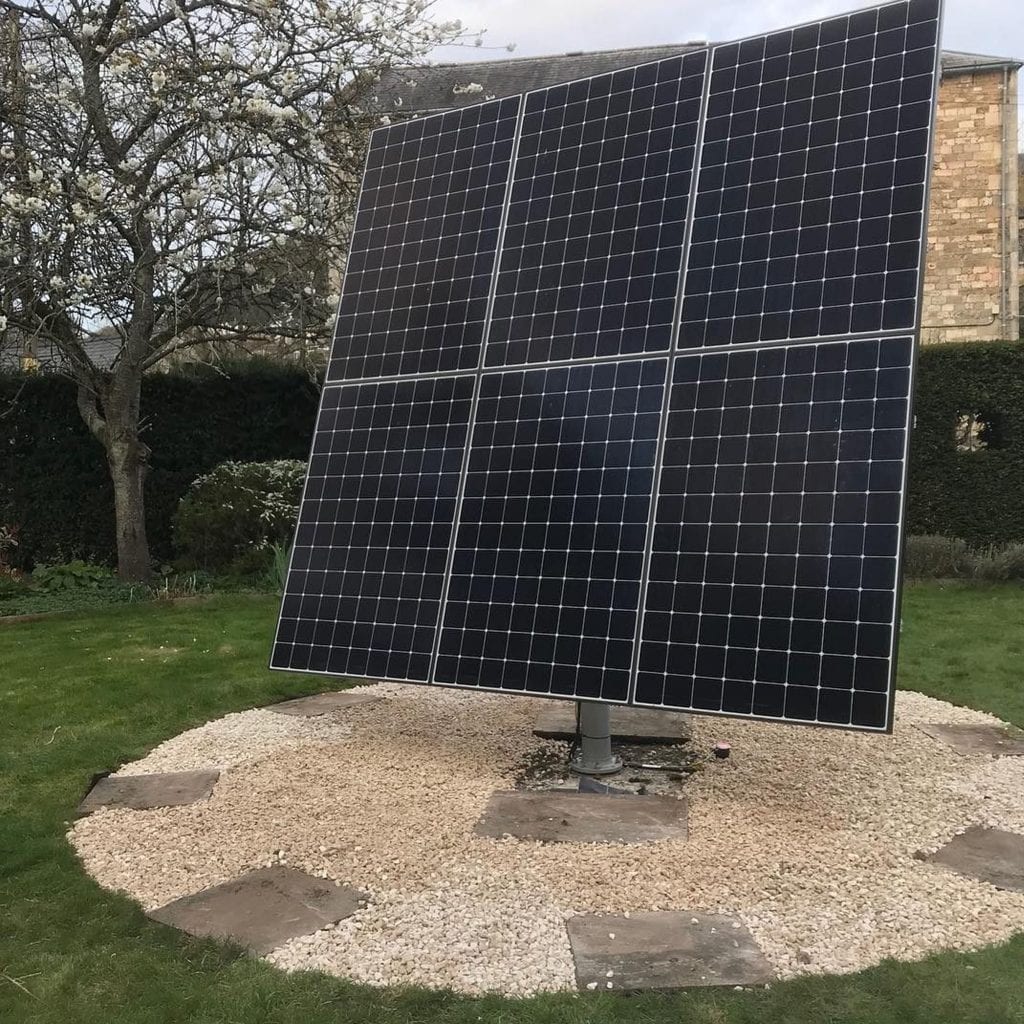
The most efficient way to install a solar photovoltaic system is by using a Heliomotion. Simply because a Heliomotion has innovative sun-tracking technology that enables solar panels to track the sun throughout the day and year.
Custom mounting solutions
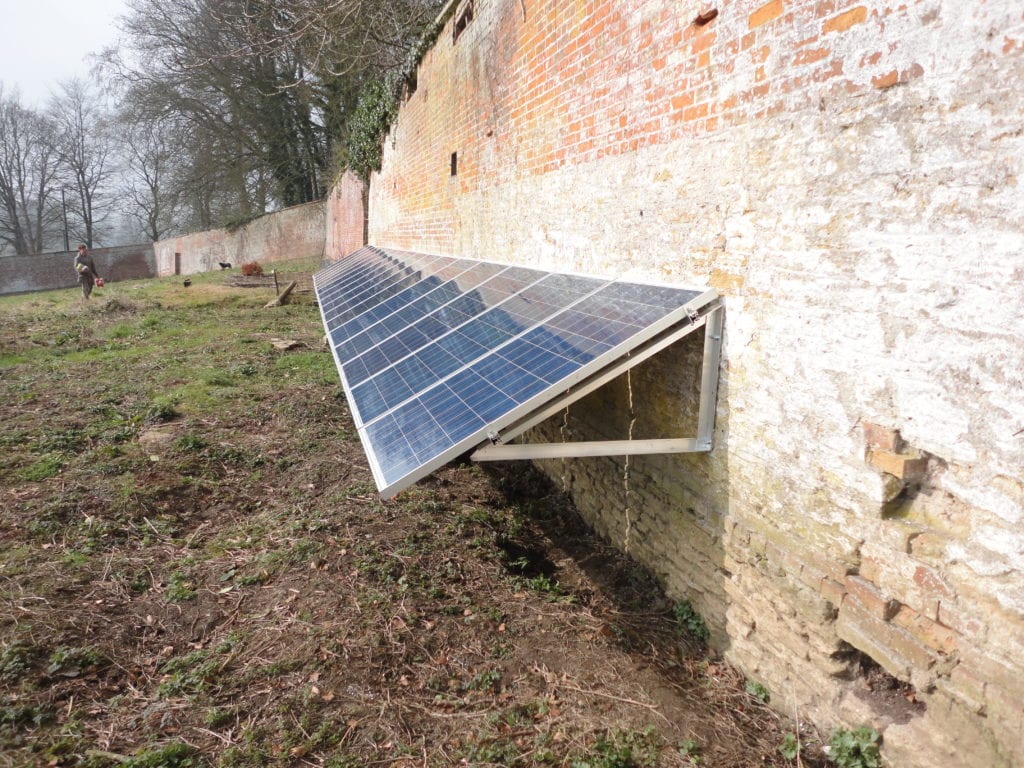
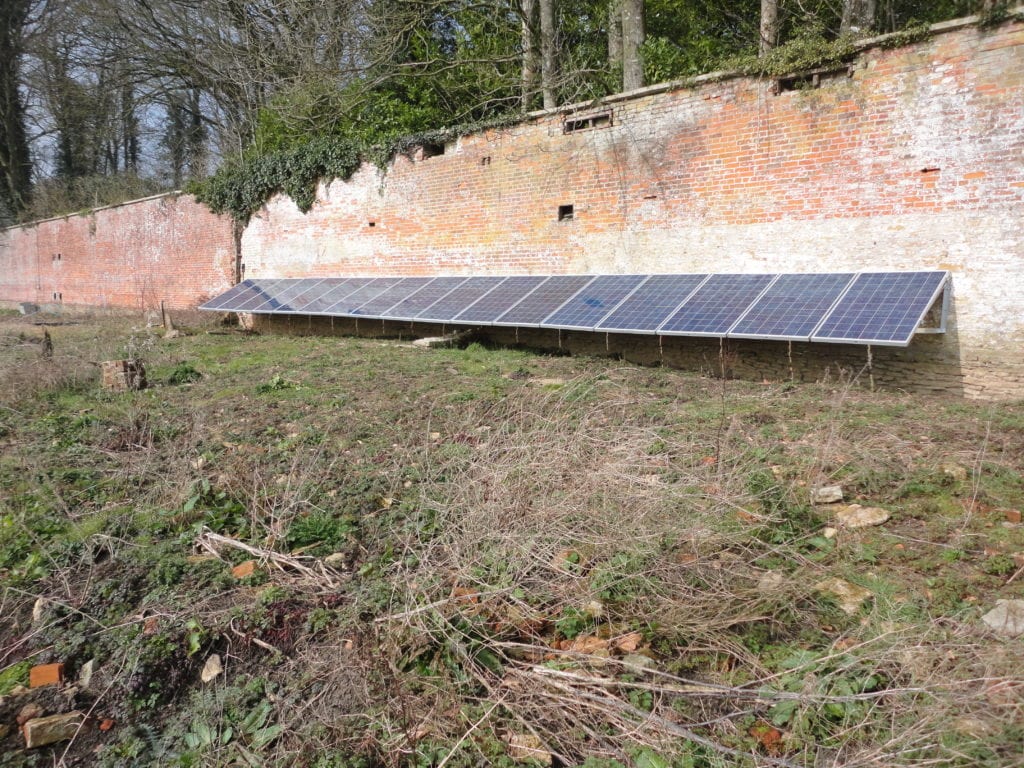
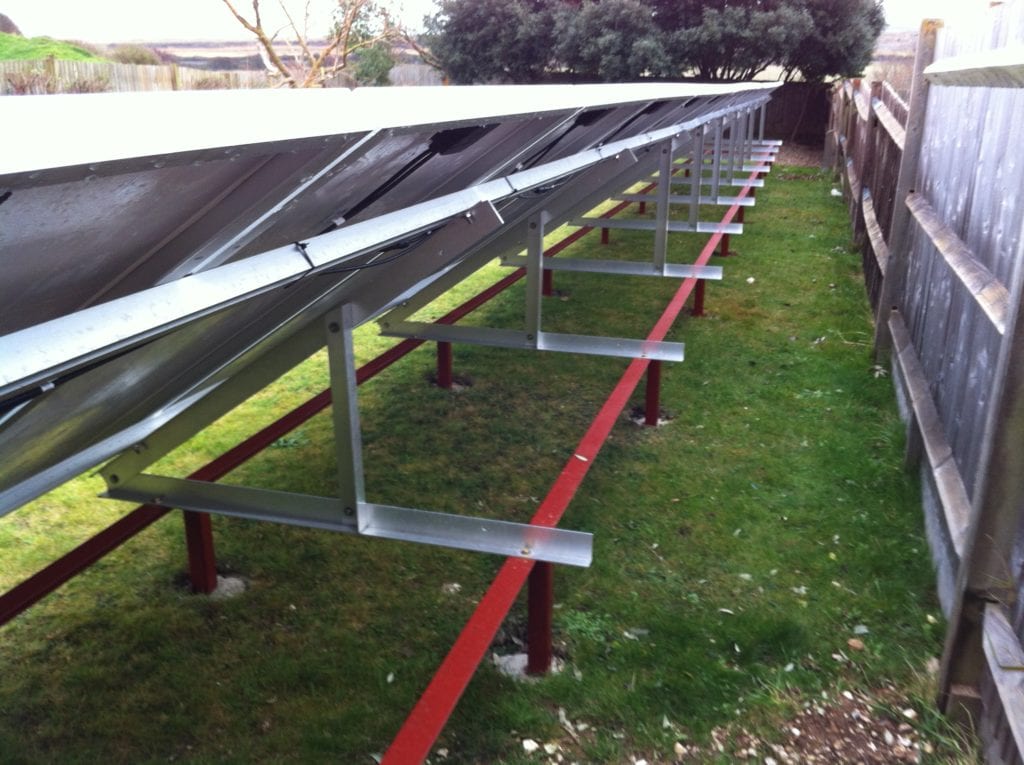
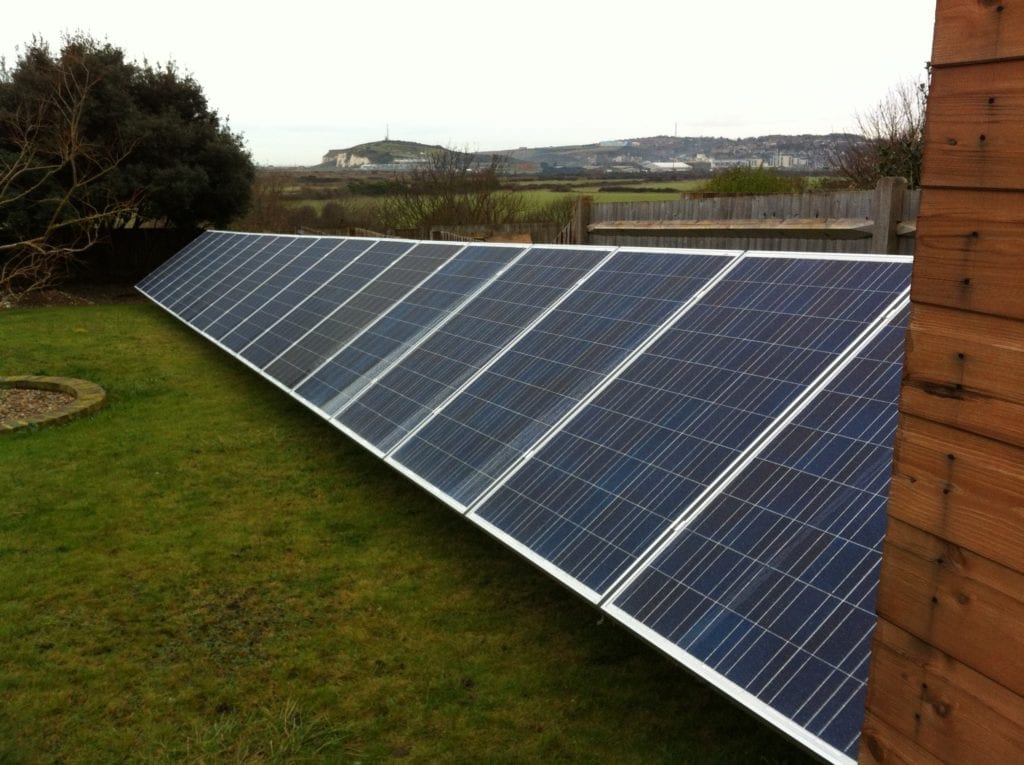
The possibilities for mounting solar are endless. So long as there is space for solar panels, then there are endless options.
There are sometimes situations where something more specialist is needed.
We are able to work with our partners to create other types of mounting solutions, out of steel, aluminium or similar.
For example, a steel structure could be build to take solar panels or a whole roof could be made out of solar panels. Solar panels also make good carports, canopies and shelters.
